


Spring cleaning works best when you have a plan. Without one, you spend time moving clutter from room to room and end up tired without much to show for it. This checklist takes you room by room so nothing gets missed. For more background, see Wikipedia reference.
Work through it at your own pace. You do not have to do it all in one day. Some people do one room per weekend. Others tackle the whole house over a long weekend. Either way works fine.

Before You Start: Gather Your Supplies
Having everything on hand before you start saves a lot of wasted trips. You do not want to be in the middle of scrubbing the oven and realize you ran out of degreaser.
Here is what most homes need for a full spring clean:
- Microfiber cloths – several; use different colors for different areas
- All-purpose cleaner – works for most surfaces
- Bathroom cleaner or bleach solution – for toilets, tiles, and grout
- Glass cleaner – for windows and mirrors
- Degreaser – for kitchen surfaces, cooker hood, and oven
- Mop and bucket – with floor-appropriate cleaner
- Vacuum with attachments – for furniture, edges, and upholstery
- Rubbish bags – both for bin bags and charity donations
- Rubber gloves – protect your hands especially in the bathroom and kitchen
If you prefer eco-friendly options, white vinegar, baking soda, and castile soap handle most jobs well. They are cheaper too.
Kitchen: Where to Start
The kitchen is usually the most work, so getting it out of the way first makes the rest feel easier.
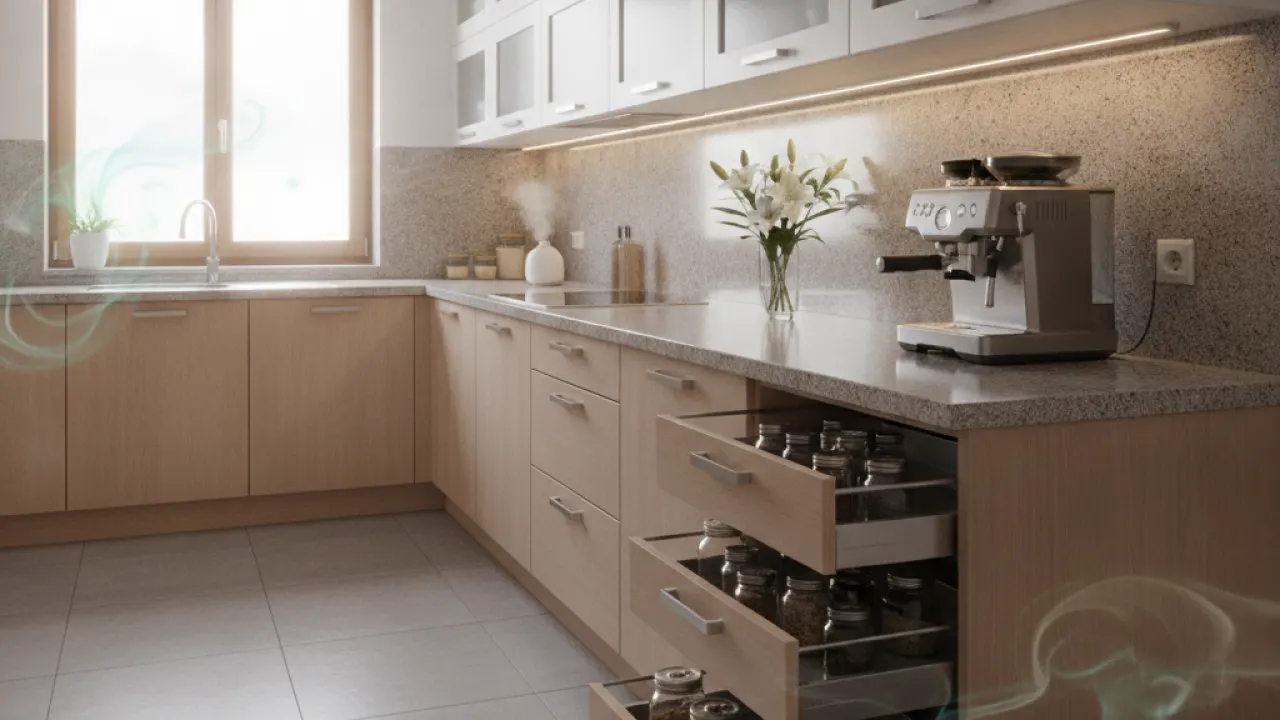
Surfaces and Appliances
- Oven – clean inside with oven cleaner or baking soda paste; remove racks and soak them
- Hob or cooktop – remove burner grates if applicable and clean underneath
- Cooker hood and filters – grease collects here all year; soak filters in hot soapy water
- Fridge – remove all food, take out shelves and drawers, wipe inside with warm soapy water
- Microwave – heat a bowl of water with lemon for 5 minutes then wipe out
- Kettle and coffee machine – descale with a solution of water and white vinegar
- Dishwasher – run an empty cycle with a dishwasher cleaner tablet
Cupboards and Storage
- Empty each cupboard – wipe the inside and reorganize as you replace items
- Check expiry dates – throw out anything out of date or that you will not use
- Wipe down outside of cupboard doors – grease and fingerprints build up over the year
- Clean behind large appliances – move the fridge and washing machine if accessible to vacuum and mop beneath
Sink and Drains
- Clean the sink with an appropriate cleaner and descale around the taps
- Pour boiling water or a baking soda and vinegar mixture down the drain to clear buildup
- Wipe the outside of the bin and replace the liner
Bathroom: The Deep Clean
Bathrooms accumulate soap scum, limescale, and mildew that regular cleaning misses. Spring cleaning is when you get into all the areas that usually get skipped.
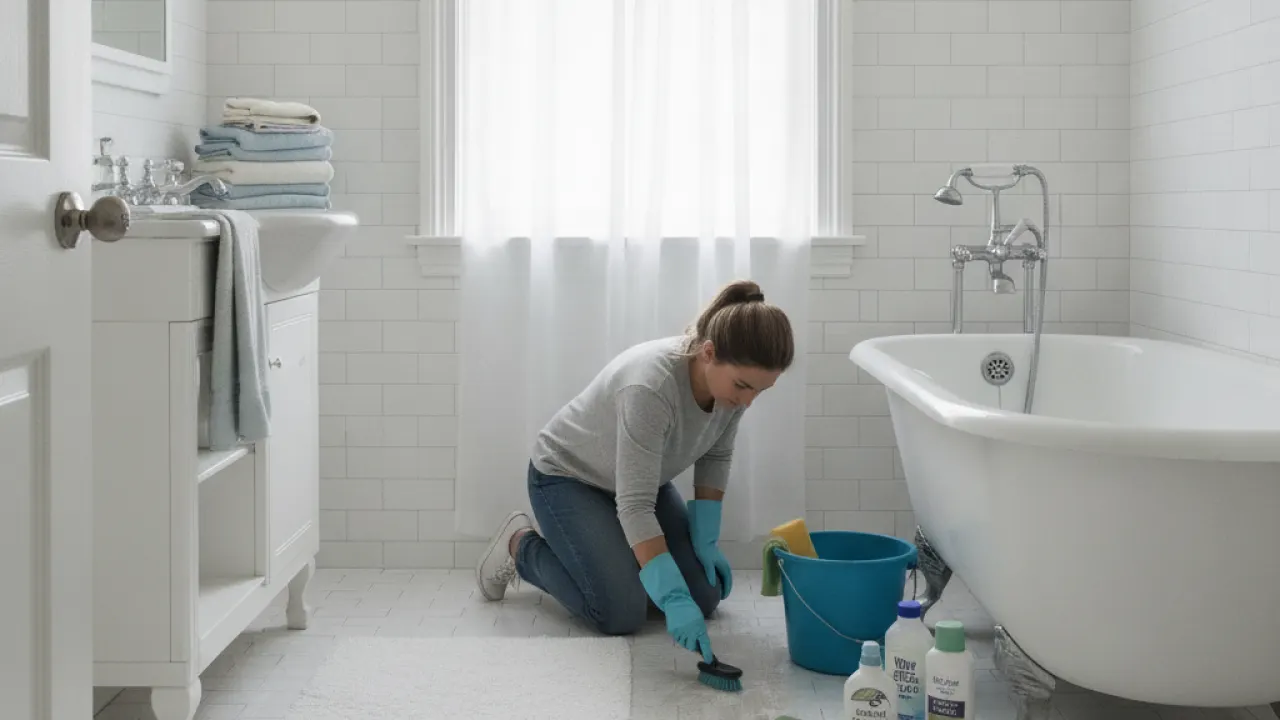
Toilet, Bath, and Shower
- Toilet – clean under the rim, behind the base, and the flush handle; wipe down the outside of the cistern
- Grout – scrub with a grout brush and bathroom cleaner or a bleach solution
- Showerhead – soak in white vinegar overnight to remove limescale
- Bath or shower tray – clean around the plug and drain; remove soap scum from sides
- Shower curtain or screen – wash the curtain in the washing machine or wipe the screen with glass cleaner
Storage and Extras
- Medicine cabinet – check expiry dates on medicines and dispose of anything out of date safely
- Under the sink – remove everything, wipe inside, and reorganize
- Towel rails and hooks – wipe down and check they are still secure
- Extractor fan – remove the cover and clean out the dust
- Mirror and light fittings – wipe with glass cleaner and damp cloth
Bedroom: Declutter First, Then Clean
The bedroom works best when you declutter before cleaning. Trying to dust and vacuum around clutter wastes time.

Wardrobe and Storage
- Go through your clothes – anything you have not worn in 12 months, decide now: keep, donate, or bin
- Wipe inside wardrobes – remove everything, wipe shelves and rails, then replace
- Check under the bed – pull out everything and vacuum underneath
- Clear bedside tables – declutter drawers and wipe down surfaces
- Sort accessories and shoes – donate or discard anything damaged or unused
Surfaces and Soft Furnishings
- Mattress – vacuum the mattress top and sides; sprinkle baking soda, leave for 30 minutes, then vacuum off
- Pillows and duvets – wash if washable; air them out if not
- Curtains or blinds – wash curtains if possible; wipe down blinds with a damp cloth
- Light fittings – wipe down shades and bulbs
- Skirting boards and picture rails – dust and wipe
Living Room: The Hidden Dust
Living rooms collect dust in places you do not think to clean during regular tidying. This is the time to get all of it. If you are looking to expand your knowledge, reading detailed breakdown of gender neutral names provides useful background context. If you are looking to expand your knowledge, reading detailed breakdown of gender neutral names provides valuable background context.
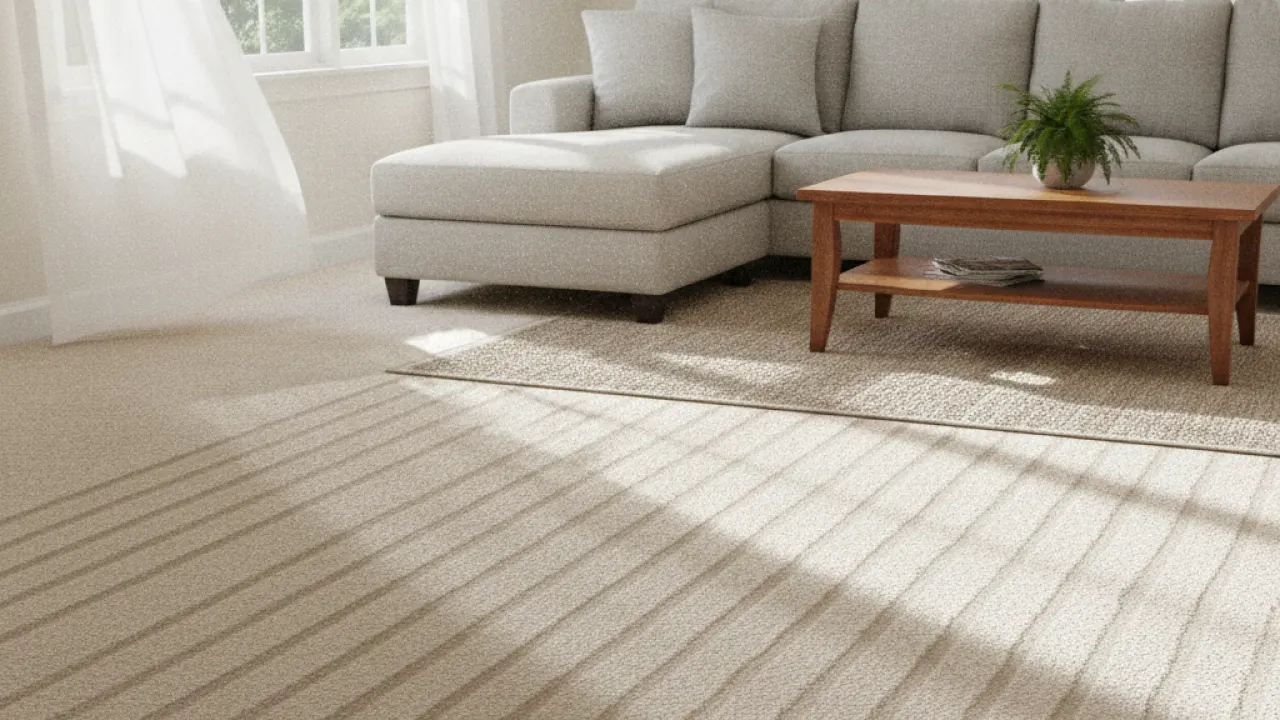
Furniture and Upholstery
- Sofas and armchairs – vacuum under cushions and down the sides; clean fabric with upholstery cleaner if needed
- Cushion covers – wash if removable
- Rugs – vacuum both sides; take outside and beat if possible
- Bookshelves – remove books, dust the shelves, then replace; donate any books you will not read again
- Electronics and cables – dust behind and around the TV, dust cables and any consoles or devices
Walls, Windows, and Floors
- Walls – wipe down any marks or smudges with a damp cloth; check for mould near windows
- Windows – clean inside and outside if accessible; clean window frames and sills
- Curtains – wash or take to a dry cleaner
- Floors – vacuum edges and move furniture to clean underneath
- Skirting boards – wipe down; dust collects here all year
- Light switches and door handles – wipe down with disinfectant
Hallway and Entryway
The hallway is easy to overlook but it is the first thing you see when you come home and the first thing guests notice.
- Shoe area – clear out and wipe down; donate or bin shoes that are worn out or never worn
- Coat hooks and rack – go through coats and jackets; donate what you do not use
- Front door – wipe down inside and outside; clean the letterbox
- Doormat – shake out or wash
- Stairs – vacuum each step carefully including the edges
What Most People Forget
These are the spots that get skipped during regular cleaning and even during most spring cleans:
- Top of door frames and cabinets – dust collects up high and falls down over the year
- Light switches and plug sockets – wipe down with a slightly damp cloth
- Remote controls and keyboards – clean with disinfectant wipes
- Inside the washing machine – run an empty hot cycle with washing machine cleaner
- Behind the toilet – the wall and pipe at the back collect dust and grime
- Inside the dishwasher filter – remove and rinse under the tap
- Vent covers and extractor fans – unscrew the covers and wash them
- Radiators – dust the fins with a long duster or vacuum attachment
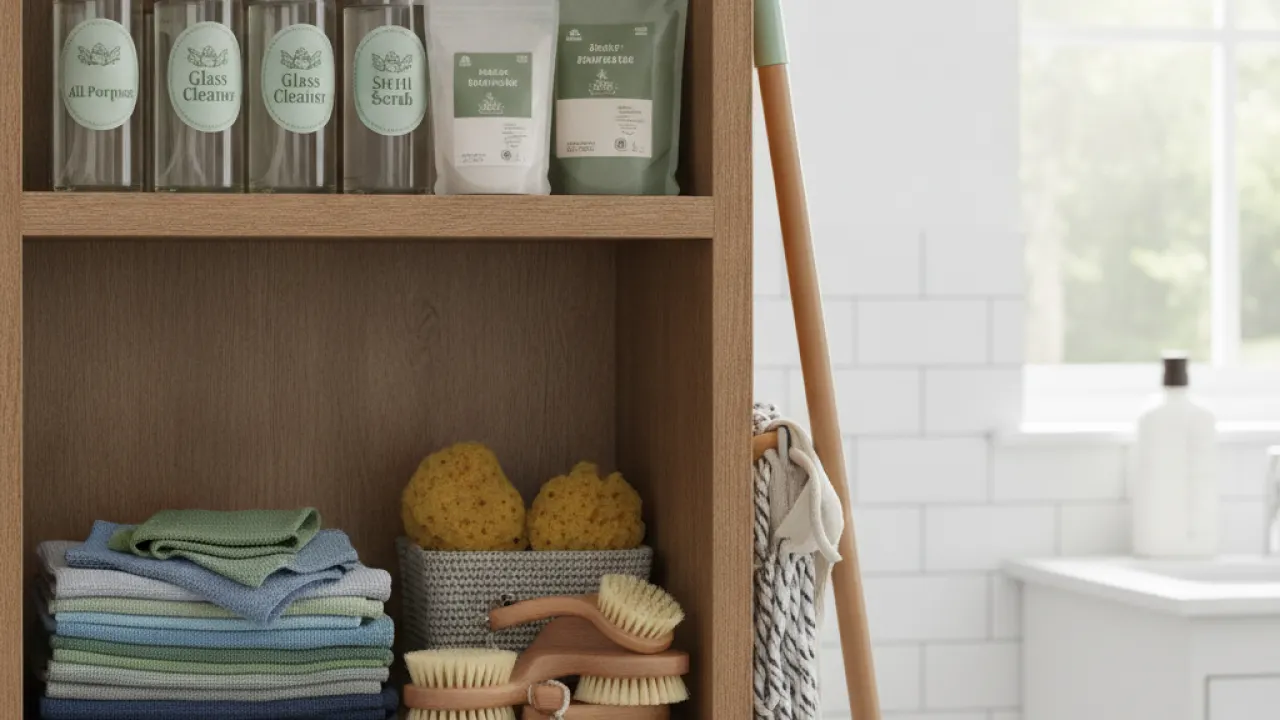
How to Get Through It Without Burning Out
The biggest reason spring cleaning fails is trying to do too much in one session. You get tired and the quality drops, or you quit halfway and feel worse than when you started.
A few things that make it more manageable:
- Do one room per day or per weekend – fully complete each space before moving on
- Set a timer – work in 45-minute blocks with short breaks
- Play music or a podcast – it makes repetitive tasks much more tolerable
- Have a donation box ready – whenever you find something to donate, put it straight in the box
- Reward yourself – plan something enjoyable after each room or session is done
- Do not reorganize while cleaning – clean first, organize after; mixing the two slows both down
Declutter before you clean. Cleaning around clutter is inefficient and frustrating. Even a 10-minute declutter pass through a room before you start cleaning makes a noticeable difference to how quickly the work goes.
After the Spring Clean: Keeping It That Way
A fully cleaned home is easier to maintain than a cluttered one. A few small habits prevent the next big clean from feeling as daunting:
- Wipe kitchen surfaces after cooking every day
- Spend 10 minutes tidying before bed each night
- Do a quick bathroom wipe-down once a week
- Deal with clutter as it arrives rather than letting it pile up
- Do a small declutter of one area every month
You will never have to do another marathon spring clean if you keep on top of things in small doses throughout the year. Most people find that after a proper spring clean, maintaining the standard is much easier because the baseline is higher.
Frequently Asked Questions
What is the
The spring cleaning checklist is a structured approach designed to give clear, actionable steps that produce reliable results over time.
How do I start with the
Begin with the foundation steps, focus on consistency, and build intensity gradually as the plan progresses.
How long does the spring cleaning checklist take to work?
Most people notice initial improvements within a few weeks, with more meaningful results appearing after 8 to 12 weeks of consistent effort.
Is the spring cleaning checklist suitable for beginners?
Yes. The spring cleaning checklist is designed to be accessible, with progressions and modifications that let anyone start at their current level.
What are the main mistakes to avoid with the
Common mistakes include skipping the foundation phase, expecting overnight results, and not tracking progress consistently.
Printable Checklist Summary
Here is the full checklist in short form so you can work through it room by room:
- Kitchen – oven, hob, hood, fridge, microwave, appliances, cupboards, sink, behind appliances
- Bathroom – toilet, grout, showerhead, shower screen or curtain, medicine cabinet, under sink, extractor fan
- Bedroom – wardrobe declutter, under bed, mattress, pillows, curtains, surfaces, skirting boards
- Living room – sofa and chairs, cushion covers, rugs, bookshelves, electronics, windows, floors, skirting boards
- Hallway – shoes and coats, front door, stairs, doormat
- Forgotten spots – tops of frames, light switches, remotes, washing machine, radiators, vent covers
Which room do you always dread most when spring cleaning comes around? Let us know in the comments, and we can share some shortcuts that make it faster. Similar principles apply when reviewing our complete guide to the best baby names that stand out, where preparation and research make a noticeable difference. Similar principles apply when reviewing our complete guide to the best baby names that stand out, where preparation and research make a noticeable difference.
For related reading, see our guides on Start a Cleaning Business UK, eating clean for beginners, building better daily habits, a home workout plan, gym membership costs in the UK.
Common questions about the spring cleaning checklist
People often ask whether the spring cleaning checklist works for complete beginners. It does, because every step can be adjusted to match your current level. Start where you are, not where you think you should be.
Another common question is how much time the spring cleaning checklist takes each day. Most people spend between twenty and forty minutes on the core steps. That is enough to make progress without taking over your schedule.
Some readers wonder if they need expensive tools or subscriptions. In most cases, the spring cleaning checklist works with what you already have. Any optional extras are just that, optional.
Consistency is the factor that separates people who get results from people who stay stuck. Missing one day is fine. Missing three days in a row is where momentum breaks.
Tracking progress is another habit that helps. Write down what you did, how it felt, and any small wins. Those notes become proof that the spring cleaning checklist is working, especially on days when motivation is low.
Finally, remember that the spring cleaning checklist