

Growing a vegetable garden is a process with clear stages. Each stage builds on the one before. Get the early stages right and the rest becomes much easier. For more background, see Wikipedia reference.
This guide takes you through every step, from choosing a spot to harvesting your first crops. No experience needed to follow it.
Step 1: Choose the Right Spot
Everything starts with location. A vegetable garden in the wrong spot will always struggle, no matter how good your soil, seeds, or technique.
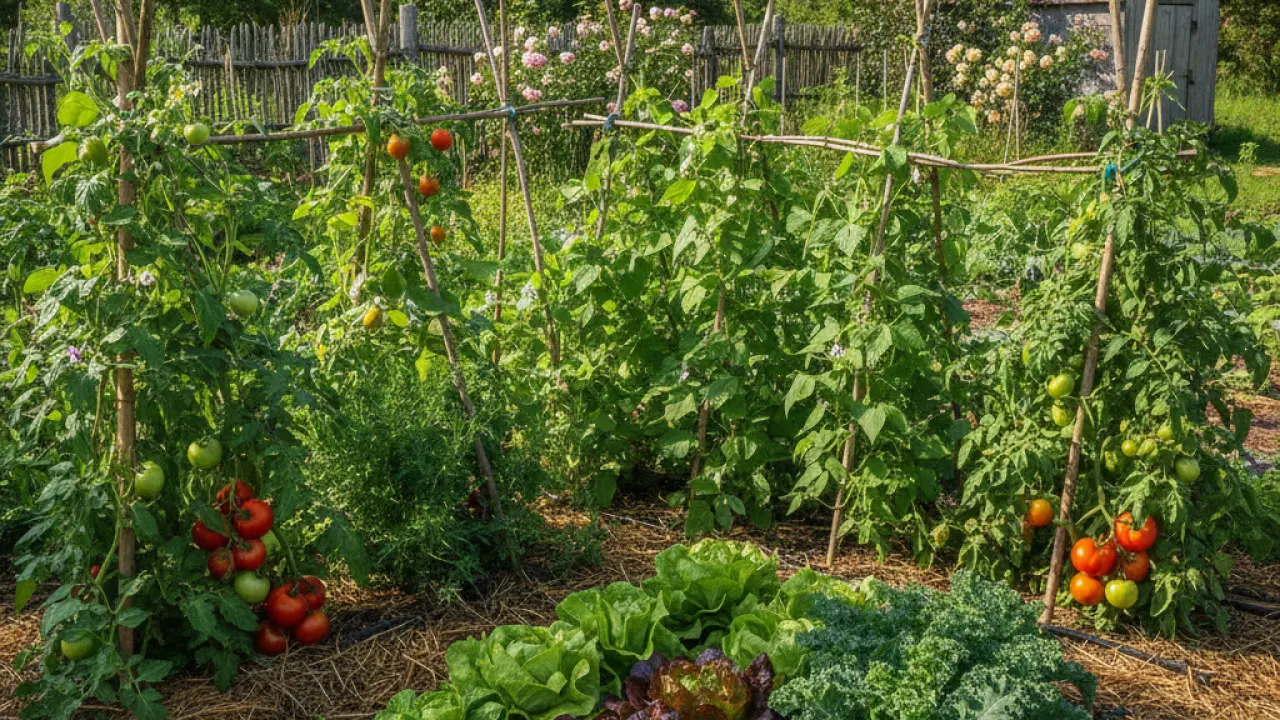
The single most important factor is sun. Most vegetables need at least 6 hours of direct sunlight each day. Some, like tomatoes, courgettes, and peppers, want 8 hours or more. Salad leaves and spinach can manage with 4 to 5 hours, but they do better with more.
Walk around your garden on a sunny day and watch where the light falls. Note which areas are in sun at 9am, 12pm, and 4pm. The spot that gets sun across the whole day is where your vegetable garden should go.
Other things to check when choosing a spot:
- Distance from water. You need to be able to water easily. A patch far from the tap means less frequent watering and worse results.
- Distance from trees. Tree roots compete hard for water and nutrients. Stay at least 3 metres from large trees.
- Wind exposure. Strong winds dry soil fast and can damage tall plants. A fence or hedge on the windward side helps.
- Drainage. Avoid low spots that collect water after heavy rain. If the ground stays wet for more than a day after rain, use raised beds.
- Access. Make sure you can reach the whole growing area without awkward reaching or stepping on plants.
Step 2: Prepare the Soil
Soil preparation is the step most beginners underestimate. Good soil produces good vegetables. Poor soil produces struggling plants that produce very little.
What Good Vegetable Soil Looks Like
Good soil is dark, crumbly, and earthy-smelling. Pick up a handful and squeeze. It should hold together briefly, then break apart easily when you poke it. It should feel loose and not sticky or gritty.
If your soil is heavy clay (sticky when wet, rock-hard when dry), you need to add organic matter to open it up. If it’s very sandy and dry (falls apart immediately), you need to add organic matter to hold moisture. If it’s somewhere in between, you still benefit from adding compost.
How to Prepare Your Bed
Step-by-step soil preparation:
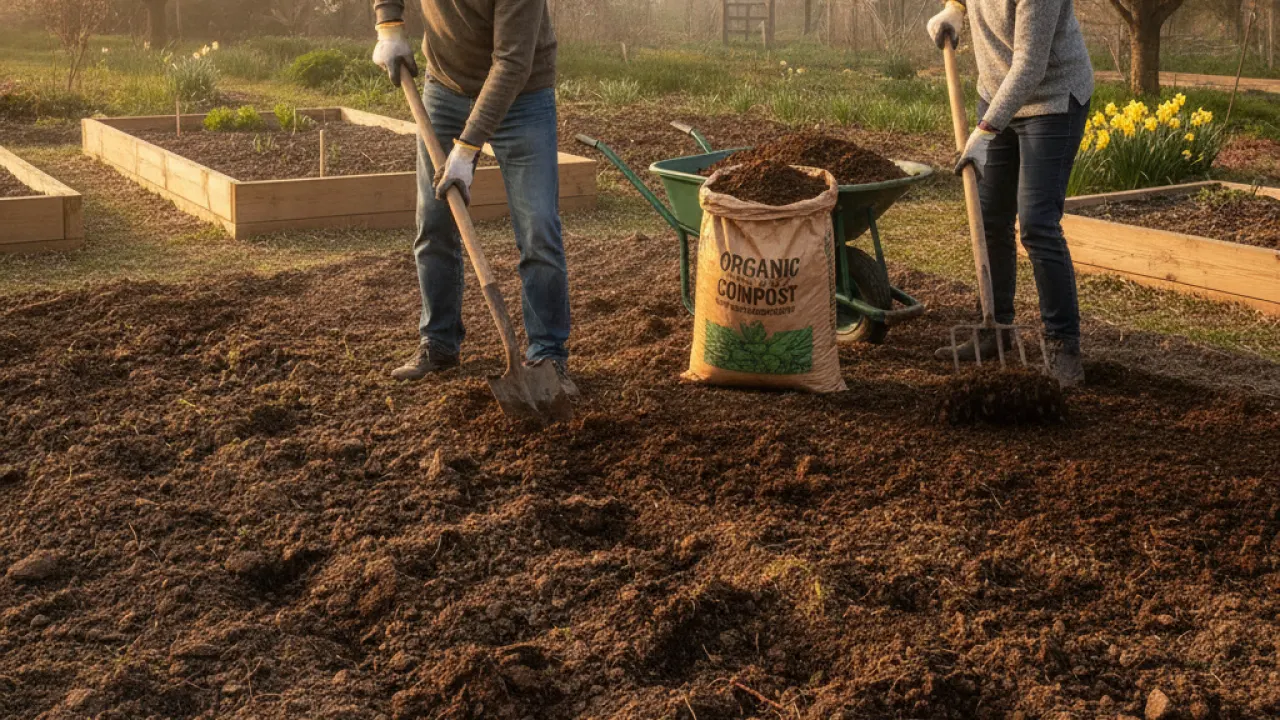
- Clear the area. Remove grass, weeds, and any debris. Pull out as many weed roots as you can, especially couch grass and dandelion roots.
- Dig over the bed. Use a spade or fork to break up the soil to about 30cm depth. Remove any stones larger than your fist.
- Add compost. Spread a 5 to 10cm layer of compost over the surface. Work it into the top 30cm with a fork.
- Level the surface. Use a rake to break up clumps and create a level, fine surface ready for seeds or plants.
- Let it settle. If you have time, leave the prepared bed for a week before planting. This lets it settle and makes it easier to see any weeds that emerge.
Should You Use Raised Beds?
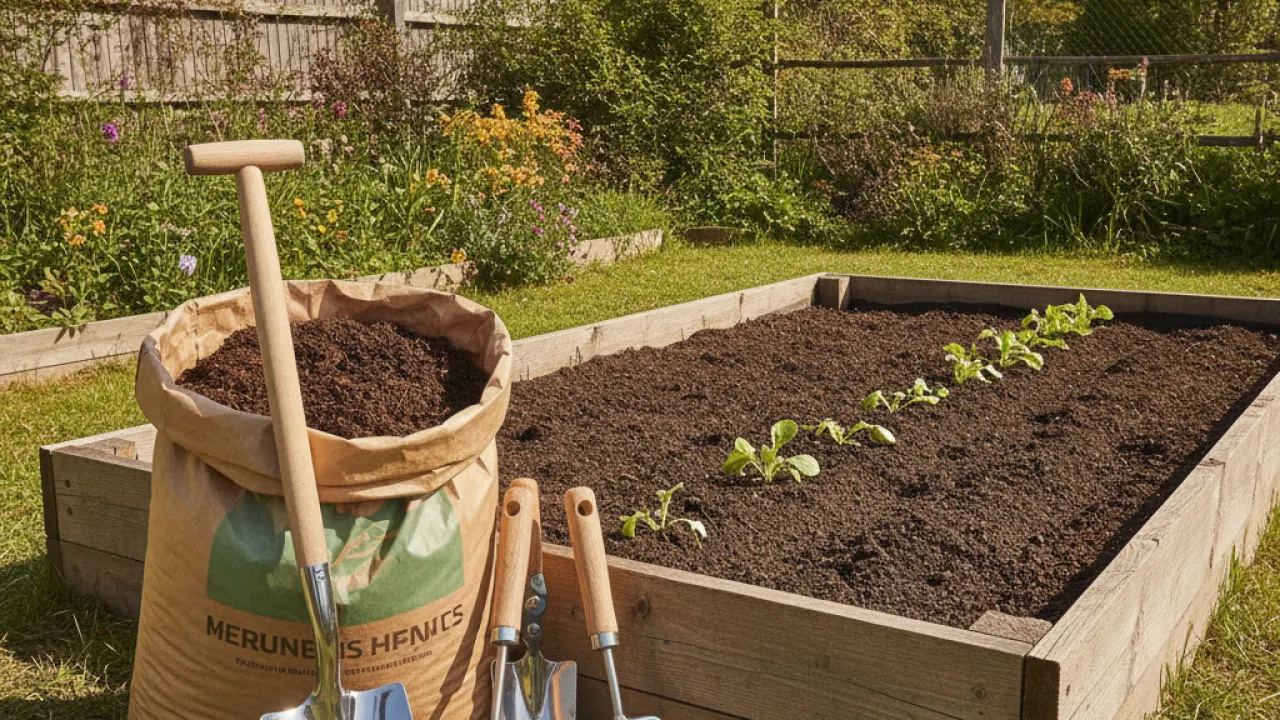
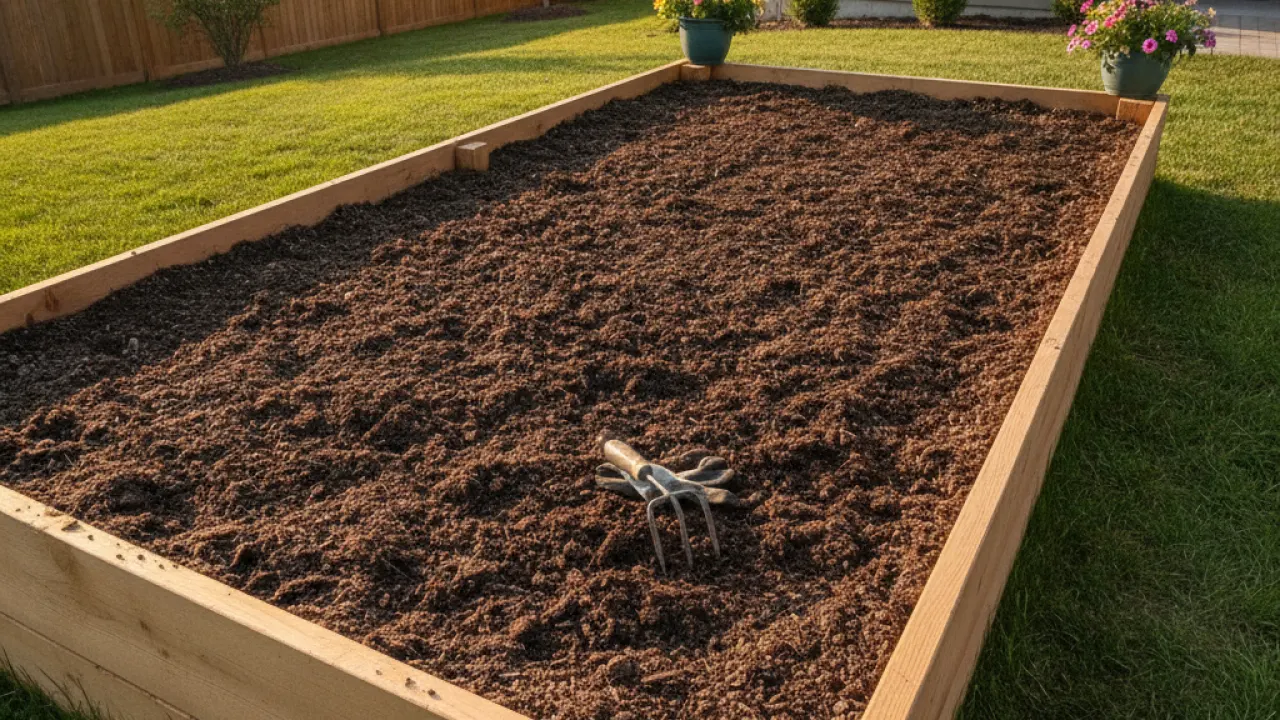
Raised beds are an excellent option for beginners. You fill them with a mix of topsoil and compost, giving you complete control over the growing medium from day one.
Raised beds warm up faster in spring, drain better than ground beds, and are easier to maintain without bending down too far. The standard size is 1.2m wide by 2.4m long. You can reach the middle from either side without stepping in.
Fill raised beds with a mix of 50% topsoil and 50% multipurpose compost, or buy a specific raised bed compost mix from a garden centre.
Step 3: Plan What to Grow
Before you buy seeds or plants, decide what you want to grow. It’s easy to get carried away and buy too much. Start with a small number of reliable crops and grow them well.
Best Crops for First-Time Growers
These are reliable and rewarding for beginners:
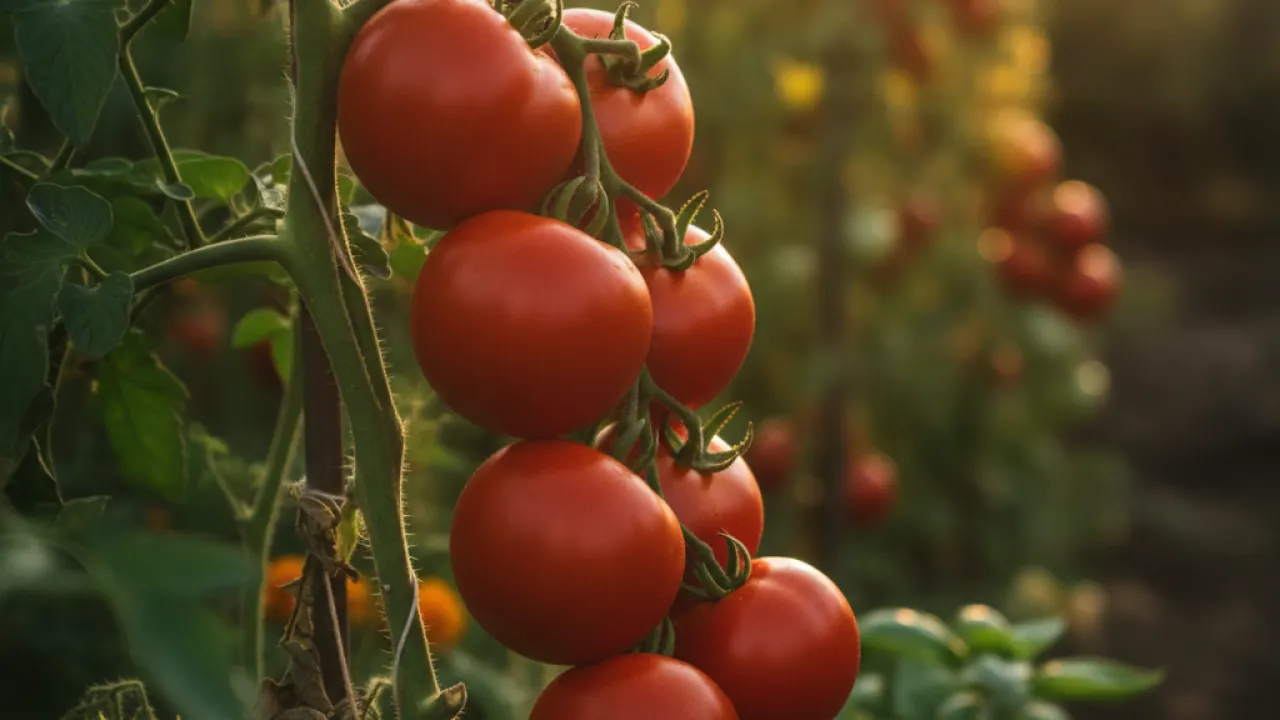
- Cherry tomatoes produce well outdoors and taste excellent
- Courgettes are extremely productive and almost impossible to kill once established
- French beans grow fast from direct-sown seed and crop heavily
- Lettuce and salad leaves give you quick results and continuous harvest
- Radishes are ready in 3 to 4 weeks and build confidence fast
- Peas are satisfying to grow and great for children
- Beetroot grows in most conditions with minimal fuss
- Spring onions need almost no space and are ready in 8 weeks
How Much to Grow
A 1.2m by 2.4m raised bed is a manageable start. One or two tomato plants, one courgette, a row of beans, some salad leaves, and a few beetroot and radishes will give you a genuine range of harvests without overwhelming you.
The biggest mistake beginners make is planting too much. An overwhelming glut of courgettes or a bed you can’t keep weeded is discouraging. Start smaller than you think you need to.
Step 4: Get Your Timing Right
Timing is where most beginner mistakes happen. The key distinction is between hardy and tender plants.
Hardy Plants
Hardy plants tolerate frost and can be planted outside earlier in the year. Peas, broad beans, onions, garlic, spinach, kale, and most salad leaves fall into this group. They can go outside from March in most UK areas, or even earlier in mild spots.
Tender Plants
Tender plants are killed by frost. Tomatoes, courgettes, French beans, cucumbers, peppers, and basil must not go outside until after the last frost. In most UK areas, the safe planting-out date is mid-May. In Scotland and northern England, wait until late May or June.
You can start tender plants from seed indoors in March or April, then harden them off (gradually getting them used to outdoor conditions over 7 to 10 days) before planting out in May.
A Simple Schedule
Here’s a basic schedule for a first vegetable garden in the UK:
- March: Sow salad leaves, radishes, and spring onions directly. Start tomatoes and peppers indoors on a warm windowsill.
- April: Sow peas and beetroot directly. Start courgettes indoors. Plant out hardy salad seedlings.
- May: Plant out tomatoes, courgettes after last frost. Direct sow French beans. Keep sowing salads and radishes.
- June to August: Keep harvesting, feeding tomatoes weekly, and sowing salads every few weeks. Pick courgettes and beans regularly.
- September to October: Final harvests of tomatoes and beans. Sow autumn salads. Plant garlic in October.
See also: start a vegetable garden and garden from scratch.
Step 5: Buy Seeds or Plants
You have two options: grow from seed, or buy young plants. Both work. Your choice depends on time, budget, and what’s available.
Growing From Seed
Seeds are much cheaper than plants. A packet costs £2 to £3 and gives you far more plants than you need. The downside is that seeds need time and the right conditions to germinate and grow on before they can go outside.
For direct sowing (seeds going straight in the ground), seeds are always the right choice. Carrots, peas, beans, beetroot, radishes, and spring onions all prefer direct sowing and shouldn’t be transplanted.
Buying Young Plants
Young plants from a garden centre are ready to go in the ground after hardening off. They’re more expensive but save weeks of indoor growing time. For your first year, buying tomato, courgette, and pepper plants is a sensible approach.
Buy plants in May when they’re widely available. Avoid plants that look tall and leggy or have yellow leaves. Choose compact, dark green plants with healthy roots.
Step 6: Plant Out Your Crops
Planting out is the moment when your growing season really begins. Do it right and your plants will establish quickly. Rush it and you’ll face setbacks.
Hardening Off
Plants grown indoors need to be hardened off before going outside. Put them outside in a sheltered spot for 2 to 3 hours on the first day. Add an hour or two each day over the following 7 to 10 days. After this, they’re ready to plant in their final position.
Don’t skip this step. Plants moved directly from a warm indoors to full outdoor conditions often get scorched or stressed and growth is set back significantly.
How to Plant
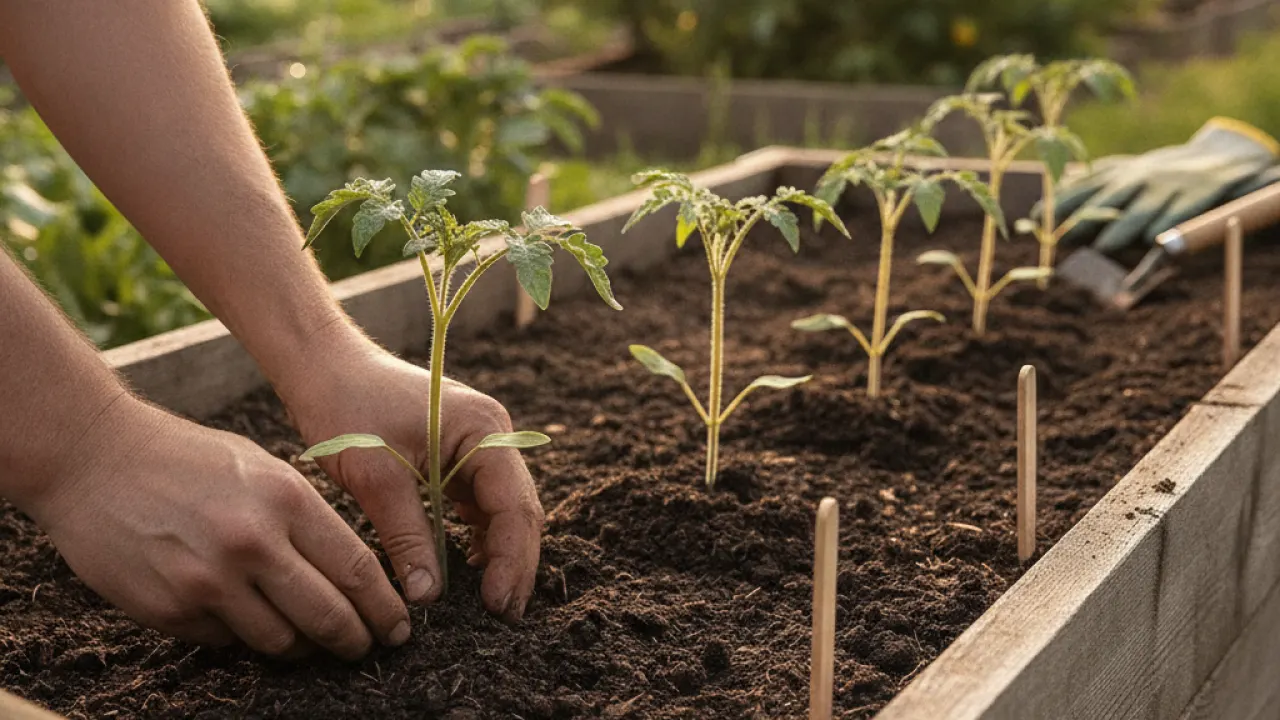
For transplants from pots:
- Water the plant in its pot an hour before planting
- Dig a hole slightly bigger than the root ball
- Plant at the same depth as it was in the pot, or slightly deeper for tomatoes
- Firm soil around the roots gently to remove air pockets
- Water in well to settle the soil around roots
- Label with the variety name and planting date
For direct sowing:
- Make a groove (called a drill) in the soil at the depth shown on the seed packet
- Sow seeds at the spacing shown, or slightly closer and thin later
- Cover lightly with soil, firm gently, and water with a fine rose
- Label the row immediately. You will forget what’s where.
- Keep moist until seeds germinate
Spacing Matters
Follow the spacing guidance on packets and labels. Crowded plants compete for light, water, and nutrients. They produce less and get diseased more easily. It always feels like too much space at planting time, but it fills in faster than you expect.
Step 7: Water Consistently
Watering is the most important ongoing task in a vegetable garden. Too little water and plants wilt, slow their growth, and drop flowers. Too much water and roots rot, leaves yellow, and fungal disease takes hold.
How to Check When to Water
Push your finger into the soil to about 2cm depth. If it feels dry at that depth, water. If it still feels moist, leave it another day. This simple check is more reliable than any schedule because it responds to actual conditions rather than a theoretical timetable.
How to Water Well
Water at the base of plants, not over the leaves. Wet leaves in warm weather encourage fungal disease. Water slowly and deeply. A gentle, thorough soaking is much more useful than frequent light splashes that only wet the surface.
Early morning is the best time to water. This reduces evaporation and gives leaves time to dry before evening. Evening watering works too, but wet foliage overnight increases disease risk.
How Often
In dry summer weather: containers may need daily watering. Raised beds every 1 to 2 days. Ground beds every 2 to 3 days. After rain, check before watering. After heavy rain, skip a day or two completely.
Step 8: Feed Your Plants
If you’ve prepared your soil well with compost, leafy plants and root vegetables usually have enough nutrients to grow well without additional feeding. But fruiting crops like tomatoes, courgettes, and peppers need more as the season progresses.
When to Start Feeding
Start feeding tomatoes and courgettes once you see the first flowers forming. This is when the plant switches from leafy growth to producing fruit. It needs more potassium at this point to support flowering and fruiting.
What to Feed With
A high-potassium liquid feed, sold as tomato fertiliser, works for tomatoes, courgettes, cucumbers, and peppers. Follow the instructions on the bottle. Most are used once a week or every 7 to 14 days diluted in water and applied to the base of plants.
Leafy crops like lettuce and spinach benefit from a nitrogen-rich feed if they seem to slow their growth. A balanced liquid fertiliser works well.
Step 9: Manage Weeds and Pests
Weeds and pests are part of gardening. They can’t be eliminated, but they can be managed so they don’t ruin your crops.
Weeds
Weed little and often. Ten minutes every few days keeps weeds manageable. Leave them for three weeks and you have a serious problem that takes much longer to fix. Use a hoe to skim the surface between rows on dry days. Weeds severed at soil level in dry weather die quickly.
Mulching between plants with straw, bark chips, or compost suppresses weed growth significantly and retains soil moisture at the same time.
Slugs and Snails
These cause more damage to beginner gardens than anything else. They eat seedlings overnight and can wipe out a newly planted row in a single night.
Effective controls include:
- Wildlife-friendly slug pellets (ferric phosphate rather than metaldehyde)
- Nematodes watered into the soil in spring
- Copper tape around containers
- Checking at night and removing slugs by hand. Unpleasant but effective.
- Beer traps buried to soil level and filled with cheap beer
Aphids
Aphids cluster on growing tips and undersides of leaves. Knock them off with a strong jet of water. Encourage ladybirds, lacewings, and parasitic wasps into your garden. These natural predators eat huge numbers of aphids without any effort on your part.
Step 10: Harvest at the Right Time
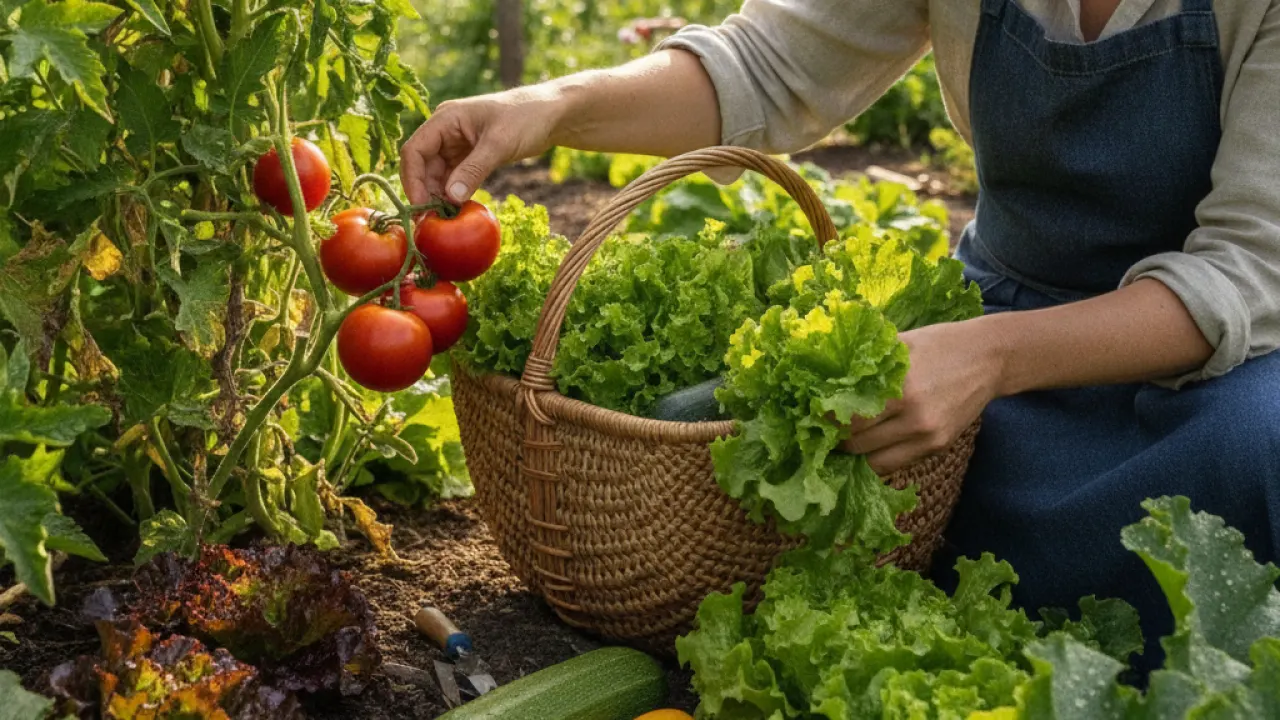
Harvesting at the right time makes a real difference to both taste and ongoing productivity. Many vegetables produce more when picked regularly. Leave things too long and quality drops while the plant stops producing.
When to Harvest Each Crop
- Courgettes: when 10 to 15cm long. Don’t wait for them to get large.
- French beans: when pods snap cleanly and seeds inside are just visible as bumps
- Tomatoes: when fully coloured and slightly soft to the touch
- Lettuce: outer leaves can be taken at any time. Whole heads when firm.
- Radishes: when about 2 to 3cm across. Any bigger and they go woody.
- Peas: when pods are plump and well filled, usually 3 weeks after flowering
- Beetroot: when roots are golf-ball to tennis-ball size
- Spring onions: when stems reach pencil thickness
Step 11: Keep the Garden Going Through the Season
A good vegetable garden doesn’t just stop being productive after the first harvest. With a bit of planning, you can keep things growing from March to November.
Succession Sowing
Don’t sow all your seeds at once. Sow short rows of fast crops like radishes, lettuce, and spring onions every 2 to 3 weeks. As one batch finishes, the next is just coming ready.
Follow-On Crops
When one crop finishes, plant another in its place. Peas finishing in July can be followed by kale or autumn salads. Broad beans clearing in June create space for French beans. Keep the bed productive rather than leaving it empty.
Extending Into Autumn
In August and September, sow winter salads, spinach, and kale for harvests into November and beyond. In October, plant garlic cloves for harvest the following July. Keep the garden going as long as the season allows.
Step 12: End-of-Season Jobs
Once the main crops are finished, there are a few jobs that set you up for a better garden next year.
- Clear spent plants. Remove everything that’s finished producing. Most can go on the compost heap.
- Dig in or mulch with compost. Add a generous layer of compost to cleared beds. Leave it on the surface and worms will work it in over winter.
- Deal with perennial weeds. Late autumn is a good time to clear persistent weeds before they seed.
- Make notes. Write down what worked and what didn’t. Note which varieties you liked. Record when things were harvested. This is the most useful thing you can do for next year’s garden.
- Order seeds. Good seed companies sell out of popular varieties early in the new year. Order in November or December for the widest choice.
Common Mistakes to Avoid
Most beginner gardeners make the same handful of mistakes. Knowing them helps you avoid them.
- Choosing a shady spot. This is the most common and the hardest to fix. Sun is non-negotiable for most vegetables.
- Not preparing soil properly. Poor soil means poor crops. Compost is the most productive thing you can add.
- Planting tender crops before the last frost. One frost can wipe out weeks of work. Wait until the risk has passed.
- Not watering consistently. Irregular watering causes fruit to split, plants to bolt, and roots to grow poorly.
- Planting too much. Overwhelming yourself in year one is discouraging. Start small and expand when you’re ready.
- Ignoring weeds. Weeds don’t go away if you ignore them. They get worse. Weed regularly while they’re small.
- Not labelling. You will forget what’s planted where, especially when plants are tiny seedlings. Label everything.
Frequently Asked Questions
How long does it take to grow a vegetable garden?
Setup can be done in a weekend. Your first harvests of quick crops like radishes and salad leaves come in 3 to 4 weeks. Main crops like tomatoes and beans take 10 to 14 weeks from planting out to first harvest. The full growing season runs roughly March to October in the UK.
How much time does a vegetable garden take each week?
A small raised bed garden takes 30 to 60 minutes of attention per week during the growing season. More during busy periods like planting out in May. Less during slow periods in early spring and late autumn. It’s rarely more than an hour on any given week unless something needs urgent attention.
Can I grow vegetables on a balcony?
Yes. Tomatoes, lettuce, radishes, spring onions, herbs, French beans, peppers, and courgettes all grow in containers on a sunny balcony. Use large pots, good compost, and water every day in summer. You won’t grow root vegetables like carrots easily, but most other crops work.
What’s the cheapest way to set up a vegetable garden?
Clear a patch of ground, add a bag or two of compost, and sow direct from cheap seed packets. Total cost can be under £20 for a productive first bed. Raised beds cost more upfront but last for years and produce better results on poor soil.
For more help getting started, you might find these useful: start a vegetable garden, garden from scratch, easy vegetables to grow at home, best garden layout, what to plant in July.
Frequently Asked Questions
How long does it take to grow a vegetable garden?
Setup can be done in a weekend. Your first harvests of quick crops like radishes and salad leaves come in 3 to 4 weeks. Main crops like tomatoes and beans take 10 to 14 weeks from planting out to first harvest. The full growing season runs roughly March to October in the UK.
How much time does a vegetable garden take each week?
A small raised bed garden takes 30 to 60 minutes of attention per week during the growing season. More during busy periods like planting out in May. Less during slow periods in early spring and late autumn. It’s rarely more than an hour on any given week unless something needs urgent attention.
Can I grow vegetables on a balcony?
Yes. Tomatoes, lettuce, radishes, spring onions, herbs, French beans, peppers, and courgettes all grow in containers on a sunny balcony. Use large pots, good compost, and water every day in summer. You won’t grow root vegetables like carrots easily, but most other crops work.
What’s the cheapest way to set up a vegetable garden?
Clear a patch of ground, add a bag or two of compost, and sow direct from cheap seed packets. Total cost can be under £20 for a productive first bed. Raised beds cost more upfront but last for years and produce better results on poor soil.
You’re Ready to Start
You now have a clear step-by-step process to follow. Choose a sunny spot, improve the soil, plan what to grow, get the timing right, and keep showing up to water and weed. That’s the whole thing.
Everything else you’ll learn by doing. The first year teaches you things no guide can fully convey. By the end of your first season, you’ll know your garden better than any book does.
Which step feels most uncertain to you right now, and is there anything stopping you from taking that first step this week? The how to grow a vegetable garden works when you follow it consistently.
This guide shows you how the how to grow a vegetable garden fits real life.
Start with the basics of the how to grow a vegetable garden and build from there.
The how to grow a vegetable garden removes common barriers that stop people from starting.
Follow the how to grow a vegetable garden for the full period to see real results.
The how to grow a vegetable garden scales as you get more experienced.
Sticking to the how to grow a vegetable garden matters more than any single step.
The how to grow a vegetable garden gives you a clear structure every week.
Use the how to grow a vegetable garden as your base and adjust it to your level.
Many people find the how to grow a vegetable garden easier to follow than complex alternatives.
Results from the how to grow a vegetable garden come from repetition, not perfection.
Keep the how to grow a vegetable garden simple and focus on showing up consistently.
The how to grow a vegetable garden works when you follow it consistently.
This guide shows you how the how to grow a vegetable garden fits real life.
Start with the basics of the how to grow a vegetable garden and build from there.
The how to grow a vegetable garden removes common barriers that stop people from starting.
Follow the how to grow a vegetable garden for the full period to see real results.
The how to grow a vegetable garden scales as you get more experienced.
Sticking to the how to grow a vegetable garden matters more than any single step.
The how to grow a vegetable garden gives you a clear structure every week.
Use the how to grow a vegetable garden as your base and adjust it to your level.
Many people find the how to grow a vegetable garden easier to follow than complex alternatives.
Results from the how to grow a vegetable garden come from repetition, not perfection.
Keep the how to grow a vegetable garden simple and focus on showing up consistently.
The how to grow a vegetable garden works when you follow it consistently.
This guide shows you how the how to grow a vegetable garden fits real life.
Start with the basics of the how to grow a vegetable garden and build from there.
The how to grow a vegetable garden removes common barriers that stop people from starting.
Follow the how to grow a vegetable garden for the full period to see real results.
The how to grow a vegetable garden scales as you get more experienced.
Sticking to the how to grow a vegetable garden matters more than any single step.
The how to grow a vegetable garden gives you a clear structure every week.
Use the how to grow a vegetable garden as your base and adjust it to your level.
Many people find the how to grow a vegetable garden easier to follow than complex alternatives.
Results from the how to grow a vegetable garden come from repetition, not perfection.
Keep the how to grow a vegetable garden simple and focus on showing up consistently.
The how to grow a vegetable garden works when you follow it consistently.
This guide shows you how the how to grow a vegetable garden fits real life.
Start with the basics of the how to grow a vegetable garden and build from there.
The how to grow a vegetable garden removes common barriers that stop people from starting.
Follow the how to grow a vegetable garden for the full period to see real results.
The how to grow a vegetable garden scales as you get more experienced.
Sticking to the how to grow a vegetable garden matters more than any single step.
The how to grow a vegetable garden gives you a clear structure every week.
Use the how to grow a vegetable garden as your base and adjust it to your level.
Many people find the how to grow a vegetable garden easier to follow than complex alternatives.
Results from the how to grow a vegetable garden come from repetition, not perfection.
Keep the how to grow a vegetable garden simple and focus on showing up consistently.
The how to grow a vegetable garden works when you follow it consistently.
This guide shows you how the how to grow a vegetable garden fits real life.
Start with the basics of the how to grow a vegetable garden and build from there.
The how to grow a vegetable garden removes common barriers that stop people from starting.