

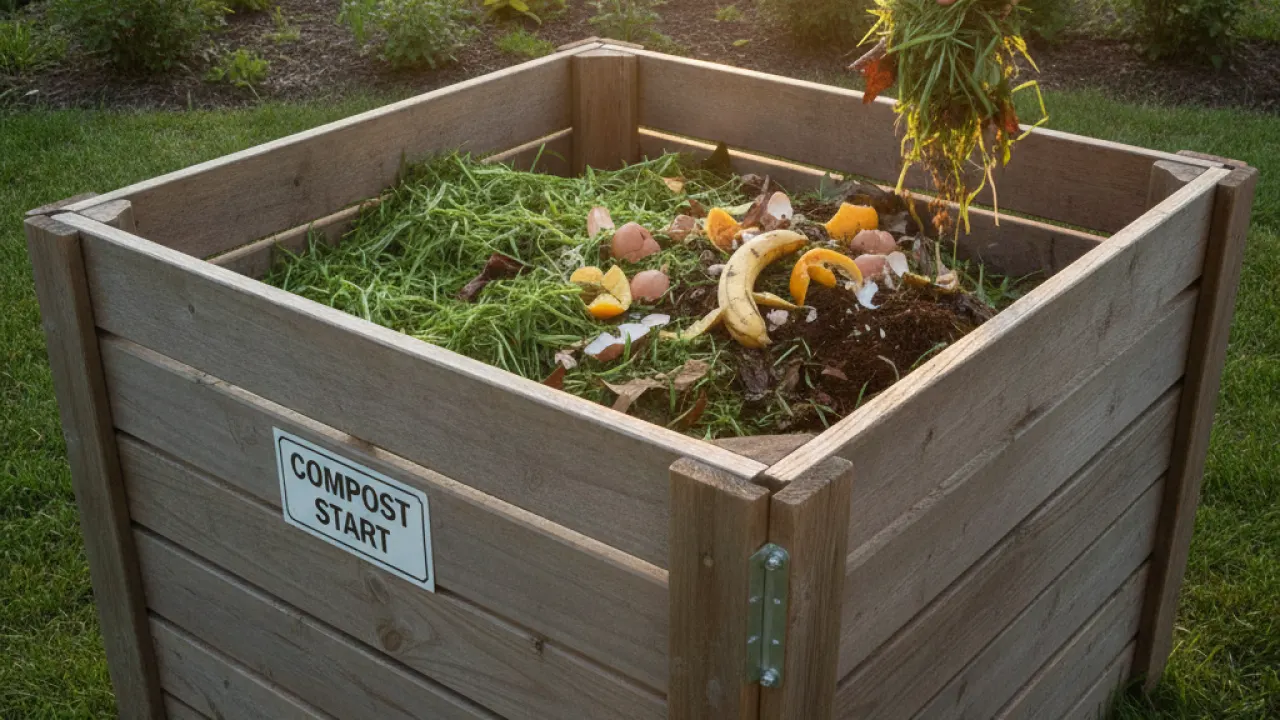
You throw away fruit peels, coffee grounds, and vegetable scraps every day. That waste could be feeding your garden instead. Composting for beginners does not require special knowledge or expensive equipment. You need a spot, some scraps, and a little patience.
This guide covers everything you need to get started this week, including what to add, what to avoid, and how to troubleshoot the common problems that trip up new composters. For more background, see Wikipedia reference.
What Is Composting and Why Bother
Composting is the natural breakdown of organic materials into a rich, dark material called humus. Bacteria, fungi, and other organisms do the work. You just set up the right conditions and let them get on with it.
The results are worth it. Finished compost improves soil structure, feeds plants slowly, retains moisture in beds, and reduces the need for chemical fertilizers. It also means less waste going to landfill, where food scraps produce methane, a potent greenhouse gas.
In 2026, more households are composting than ever before. Local councils in many areas now offer compost bins at reduced cost, and some even collect food waste separately. But home composting gives you the added benefit of using the output in your own garden.
If you are already growing food at home, composting fits naturally into that system. The guide on how to start a vegetable garden as a beginner is a good companion read if you want to put your finished compost to work right away.
The Green and Brown Balance
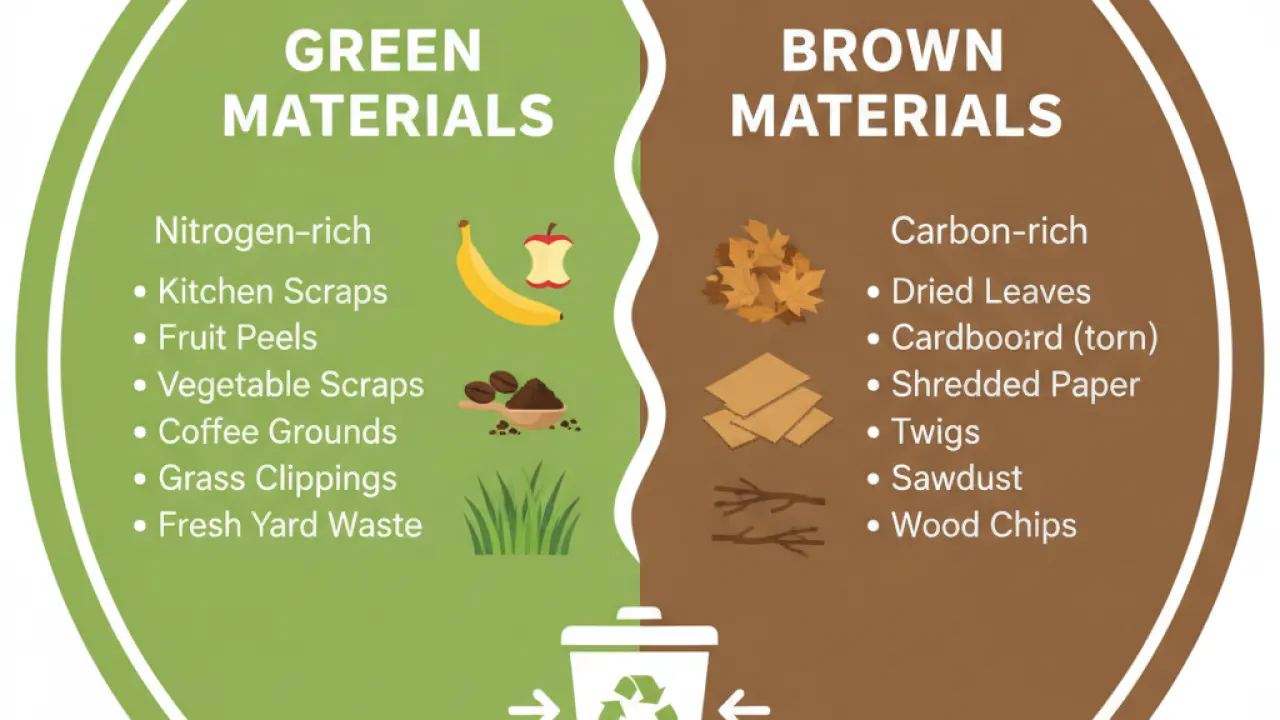
The single most important thing to understand in composting is the balance between green and brown materials. Get this right and your pile will break down well. Get it wrong and you will have either a slimy smelly mess or a pile that does nothing.
Green materials (nitrogen-rich)
These are moist, soft, and often fresh. They break down fast and provide nitrogen for the microbes doing the work. Good green materials include:
- Fruit and vegetable scraps – peels, cores, off-cuts, anything from the kitchen.
- Coffee grounds and tea bags – both break down well and worms love coffee grounds.
- Grass clippings – add in thin layers to avoid matting.
- Fresh plant trimmings – soft stems, spent annual plants.
- Eggshells – technically neutral but useful for calcium and structure.
- Seaweed and pond plants – break down fast and add minerals.
Brown materials (carbon-rich)
These are dry, tough, and slower to break down. They provide carbon and structure that keeps the pile aerated. Good brown materials include:
- Cardboard – torn into pieces, no shiny coating.
- Dried leaves – autumn leaves are gold for compost.
- Paper – newspaper, plain paper, paper bags.
- Straw – great for adding air pockets.
- Wood chips or sawdust – from untreated wood only.
- Toilet roll tubes and egg cartons – rip them up first.
- Pruned twigs – chop or shred to speed breakdown.
The general rule is roughly 2-3 parts brown to 1 part green by volume. In practice, most kitchen-heavy piles have too much green. Keep a bag of torn cardboard or dried leaves nearby to add whenever you put in food scraps.
What Not to Put in Your Compost
Some things cause real problems in a home compost bin. Avoid these:
- Meat and fish – attract pests and create bad smells.
- Dairy products – same issues as meat.
- Cooked food with oil or sauce – breaks down poorly and smells.
- Diseased plants – the disease can survive and spread when you use the compost.
- Dog or cat waste – can contain pathogens unsafe for edible gardens.
- Glossy paper or magazines – coatings do not break down.
- Treated wood – chemicals leach into the compost.
- Weeds with seeds – unless your pile gets hot enough to kill them, you will spread weeds.
Some of these rules relax if you have a hot compost system that reaches high temperatures consistently. But for beginner cold composting, stick to the list above.
Choosing a Bin or Setup
You do not need a fancy bin to start composting. Here are the main options:
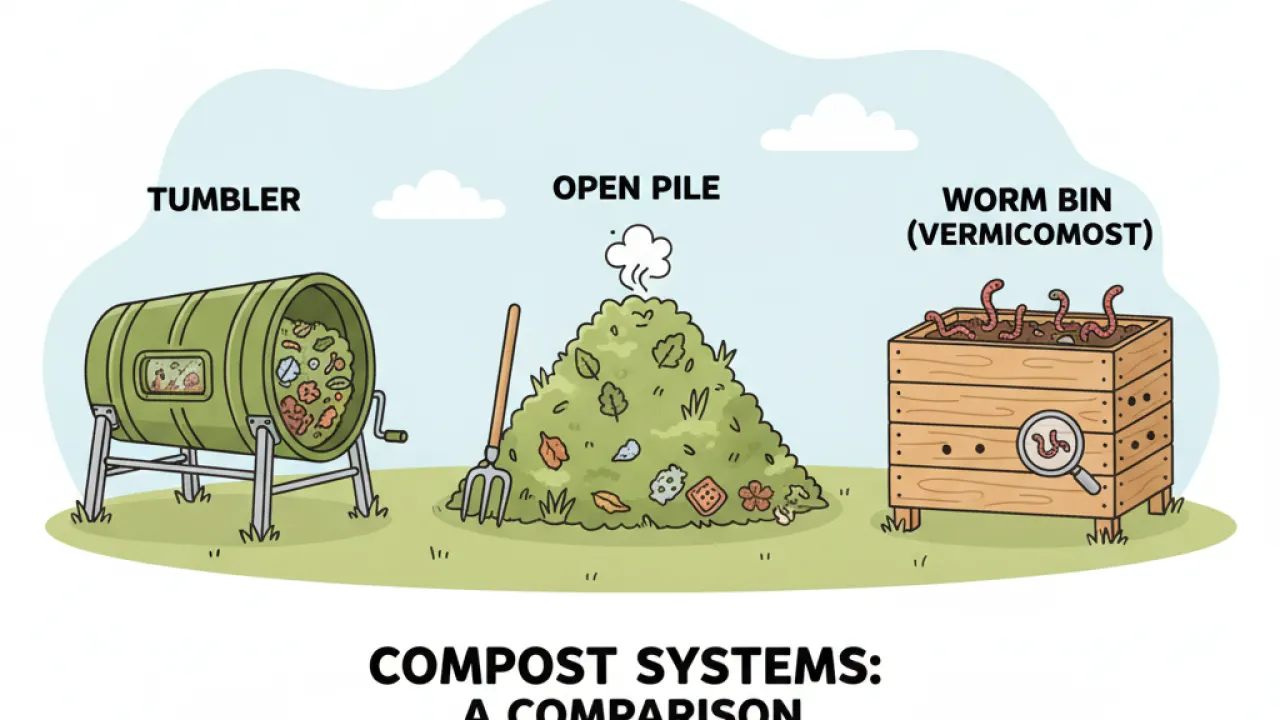
Open pile or bay system
The simplest option is just a pile in a corner of your garden. A three-sided bay made from pallets or timber works even better as it holds the pile together and lets you turn it easily. This suits gardens with plenty of space and regular garden waste.
Plastic compost bin
The most common option for smaller gardens. A closed plastic bin holds heat, keeps pests out, and looks tidy. Many councils sell these at a subsidized price. They are good for kitchen scraps and moderate amounts of garden waste.
Tumbler composters
These sit off the ground and spin to mix the contents. They are faster than static bins and very pest-resistant. The downside is limited capacity and higher cost.
Worm bins (vermicomposting)
A worm bin uses red wrigglers to break down food scraps into worm castings, one of the richest soil amendments available. It works indoors, in a shed, or on a balcony. It is not for garden waste or large volumes but produces high-quality compost fast.
If you grow food in containers or have limited outdoor space, a worm bin pairs well with container gardening. The guide on container gardening for beginners in small spaces has more on making the most of what you grow.
How to Start Your Compost Pile This Week
Here is a step-by-step approach to get going right away:
- Choose your spot. Compost bins work best on bare soil so worms and microbes can move in. Choose a spot that gets some sun but not intense all-day heat. Shade is fine too.
- Start with a base layer. Put down a 10cm layer of coarse brown material, like torn cardboard or twigs. This improves drainage and airflow from the bottom.
- Add your first batch of scraps. Collect kitchen scraps for a few days in a small bin with a lid. Fruit peels, vegetable ends, coffee grounds, tea bags, and eggshells all work well.
- Cover with browns. Add a similar layer of brown material on top. This is the ratio rule in practice.
- Repeat each time you add. Every time you add green kitchen scraps, top it with roughly double the volume of browns.
- Check moisture. The pile should feel like a wrung-out sponge. If it is dry, water it lightly. If it is soggy, add more browns.
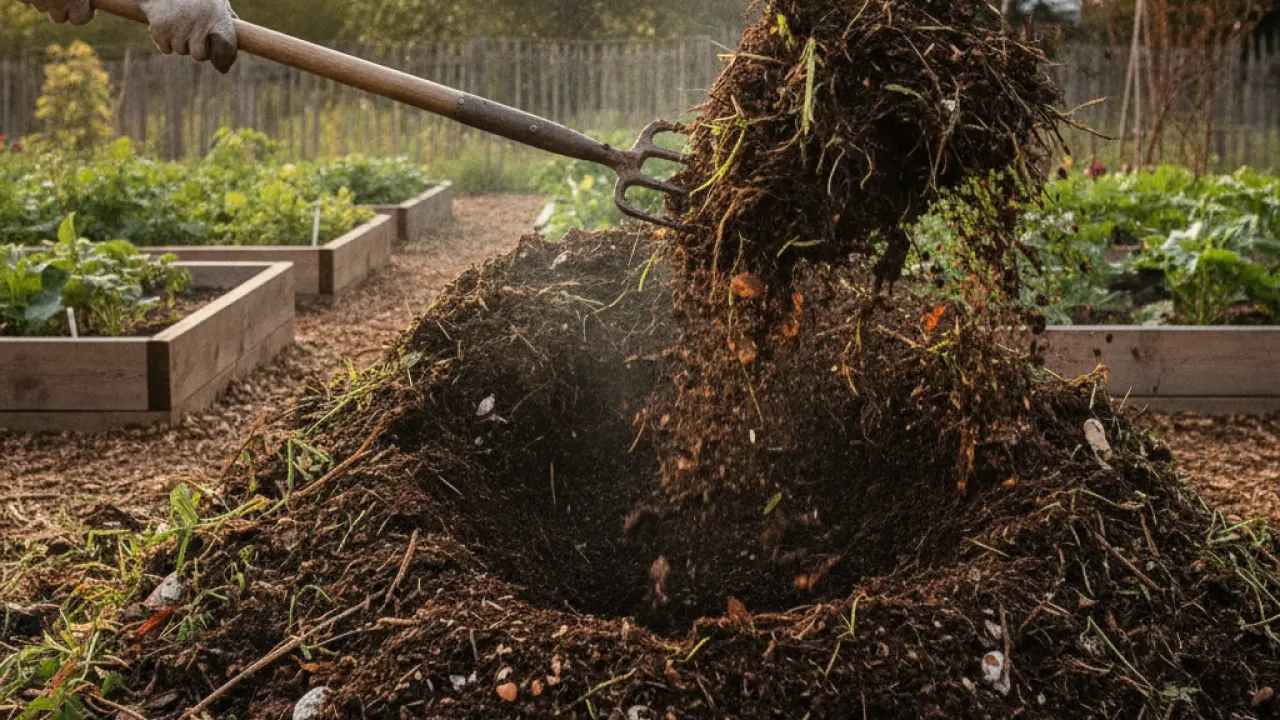
- Turn it occasionally. Once a month or more often speeds things up. Use a fork to mix the outer edges into the middle.
How long does composting take?
Cold composting, the easy beginner method, takes 6-12 months. Hot composting, where you actively manage temperature and turning, can produce finished compost in 4-8 weeks but requires more effort.
For most beginners, cold composting is the right choice. Set it up, keep adding to it, and check back in several months.
Troubleshooting Common Composting Problems
Most problems have simple fixes:
The pile smells bad
A healthy compost pile smells earthy, not like rotting rubbish. If it smells bad, you probably have too many greens and not enough airflow. Add a big batch of browns, turn the pile, and check that it is not too wet.
Nothing seems to be breaking down
The pile is probably too dry, too cold, or lacking nitrogen. Add some green materials, water lightly, and turn to mix. In cold weather, breakdown slows naturally but does not stop completely.
Pests are getting in
If rats or other pests are visiting, stop adding cooked food, meat, or dairy immediately. Make sure your bin has a solid base or is sitting on a mesh layer. A closed tumbler bin is the most pest-proof option.
The pile is too wet
Add dry brown material and mix it in. If your bin is open and rain is the issue, place a loose cover over the top or site it under an overhang.
Fruit flies
Common in summer. Bury food scraps in the middle of the pile rather than leaving them on top. Add a layer of soil or browns over each addition. A lid helps too.
Frequently Asked Questions
What is the
The composting for beginners is a structured approach designed to give clear, actionable steps that produce reliable results over time.
How do I start with the
Begin with the foundation steps, focus on consistency, and build intensity gradually as the plan progresses.
How long does the composting for beginners take to work?
Most people notice initial improvements within a few weeks, with more meaningful results appearing after 8 to 12 weeks of consistent effort.
Is the composting for beginners suitable for beginners?
Yes. The composting for beginners is designed to be accessible, with progressions and modifications that let anyone start at their current level.
What are the main mistakes to avoid with the
Common mistakes include skipping the foundation phase, expecting overnight results, and not tracking progress consistently.
Using Your Finished Compost
Finished compost is dark, crumbly, and smells like forest floor. You should not be able to identify the original materials. If some pieces are still recognizable, sieve them out and add them back to the active pile.
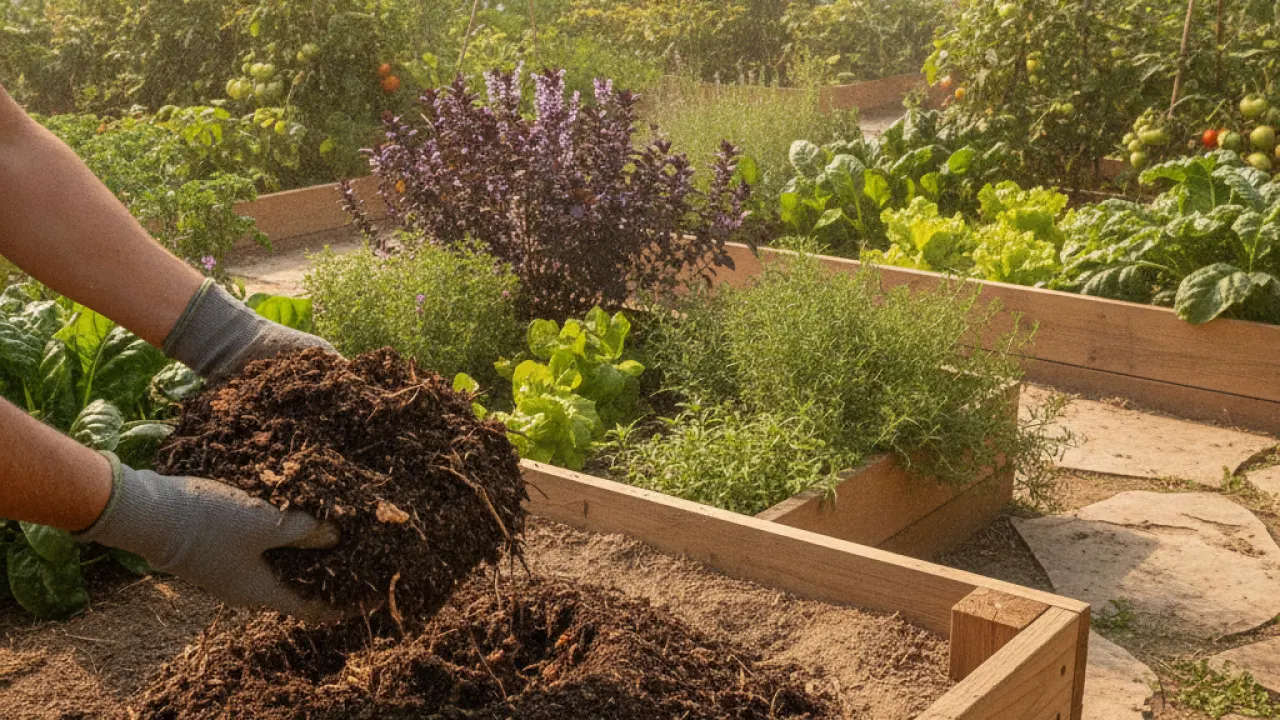
Here is how to use finished compost:
- Dig it into beds – work 5-10cm into the top layer of soil before planting.
- Use as mulch – spread 5cm around established plants to retain moisture and suppress weeds.
- Improve potting mix – mix up to 30% compost into potting soil for containers and raised beds.
- Lawn topdressing – apply a thin layer to lawns in spring to feed the grass slowly.
- Give it away – if you have more than you can use, neighbors with gardens will be glad of it.
- Compost tea – steep compost in water for 24 hours and use the liquid as a diluted plant feed.
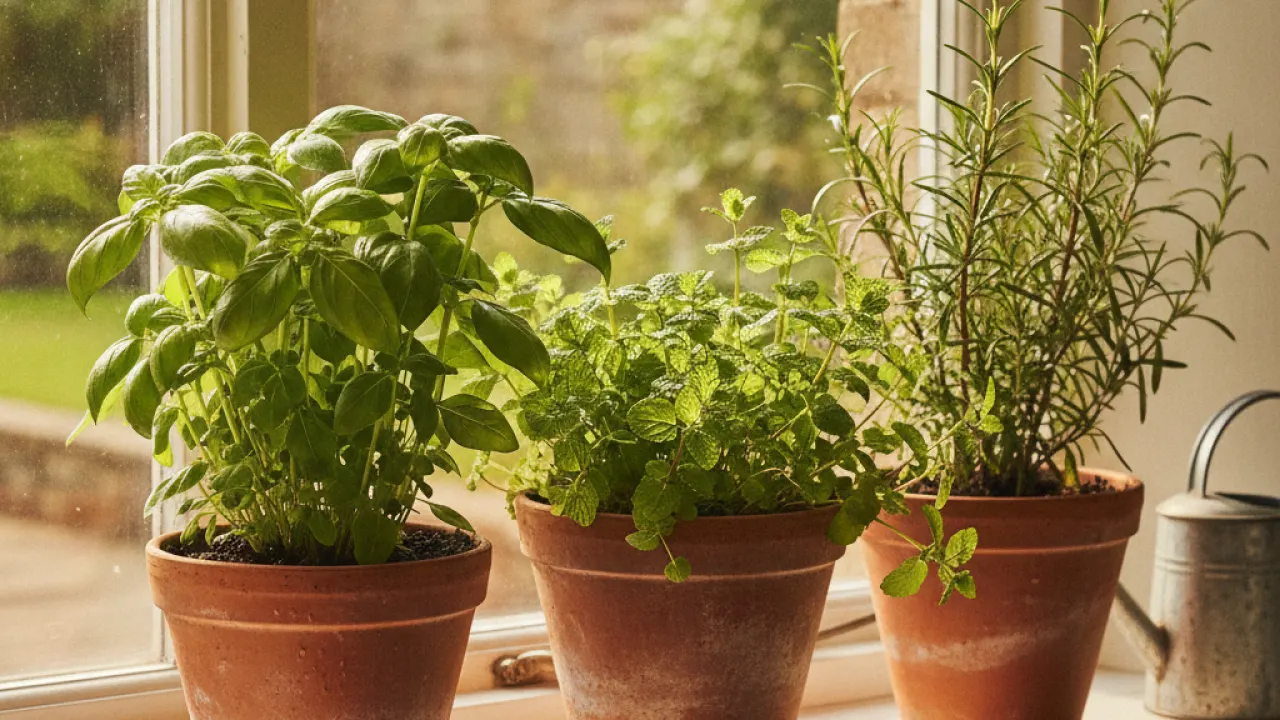
If you grow herbs indoors, finished compost mixed into potting soil makes a real difference. The guide on how to grow herbs indoors as a beginner covers the soil conditions that herbs need to thrive.
Getting the most from your compost system
Once you have composting running, there are a few habits that make the system work better long-term:
- Keep a kitchen caddy on the counter – a small lidded bin makes it easy to collect scraps daily without trips to the garden in bad weather.
- Stock up on browns in autumn – bag up dried leaves in October and use them through the winter when greens pile up.
- Have two bins if you can – one to fill, one to mature. This way you always have finished compost available.
- Chop or shred larger items – smaller pieces break down faster. A quick chop before adding woody stems saves months.
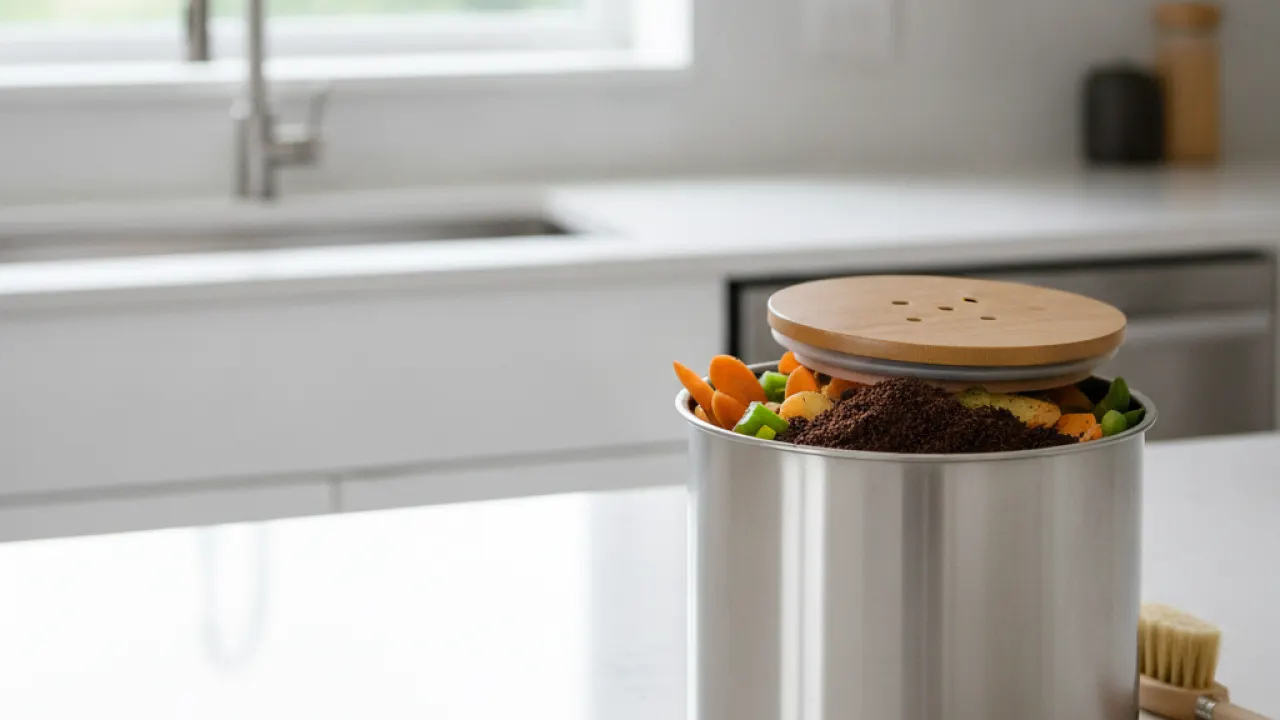
Many beginner gardeners find that once they start composting, it changes how they see kitchen waste. The peelings stop feeling like rubbish and start feeling like a resource. That shift makes it easy to stick with.
For more on building a productive garden from scratch, the guide on gardening for beginners including what to plant covers the basics of getting a productive patch started alongside your compost system.
What is the biggest thing stopping you from starting a compost pile, and is there anything in this guide that would help you take that first step this week? The composting for beginners works when you follow it consistently.
Common questions about the composting for beginners
People often ask whether the composting for beginners works for complete beginners. It does, because every step can be adjusted to match your current level. Start where you are, not where you think you should be.
Another common question is how much time the composting for beginners takes each day. Most people spend between twenty and forty minutes on the core steps. That is enough to make progress without taking over your schedule.
Some readers wonder if they need expensive tools or subscriptions. In most cases, the composting for beginners works with what
Consistency is the factor that separates people who get results from people who stay stuck. Missing one day is fine. Missing three days in a row is where momentum breaks. This guide shows you how the composting for beginners fits real life.
y is fine. Missing three days in a row is where momentum breaks.Tracking progress is another habit that helps. Write down what you did, how it felt, and any small wins. Those notes become proof that the composting for beginners is working, especially on days when motivation is low.
Finally, remember that the composting for beginners is a framework, not a prison. Adjust the timing, order, or intensity to fit your life. The goal is steady progress, not perfect execution.
Who the composting for beginners suits best
The composting for beginners suits anyone who wants a clear plan without unnecessary complexity. It works for beginners because the steps are simple. It works for experienced people because the principles stay the same even as the difficulty increases.
Busy schedules are not a problem. The composting for beginners fits around work, study, and family. Most sessions take less than an hour. That makes it easier to stay consistent over weeks and months.
What to track while using the composting for beginners
Tracking keeps the composting for beginners honest. Write down what you do, when you
Review your notes once a week. Look for patterns. If something stops working, change one variable at a time. Small adjustments beat complete overhauls. Start with the basics of the composting for beginners and build from there.
once a week. Look for patterns. If something stops working, change one variable at a time. Small adjustments beat complete overhauls.When to adjust the composting for beginners
You do not need to follow the composting for beginners exactly forever. Life changes, and your approach should change with it. If your schedule shifts, adjust the timing. If your goals change, adjust the focus.
The best sign that it is time to adjust is when progress stalls for three weeks or more. Before changing everything, change one thing. Give that change two weeks to show results.
Common myths about the composting for beginners
One myth is that you need to be perfect from day one. That is not true. Progress comes from showing up regularly, not from one flawless attempt.
Another myth is that shortcuts work. They rarely do. The composting for beginners succeeds because it is built on simple, repeated actions. Skip the foundation and you will have to go back later.
Who benefits most from the composting for beginners
The composting for beginners helps people who want structure without complexity. Beginners benefit because the steps are simple. Experienced people benefit because they can adjust the intensity while keeping the same framework.
Busy people also benefit. The composting for beginners fits around work, study, and family commitments. Most sessions take less than an hour. That makes consistency realistic over months.
How to measure progress with the composting for beginners
Progress is not always obvious day to day. Keep a simple log of what you do and how you feel. Over time, patterns appear. Those patterns show whether the composting for beginners is working.
Review your log weekly. Look for small improvements rather than dramatic changes. Small improvements add up to real results when they are repeated over time.
Common questions about the composting for beginners
People often ask whether the composting for beginners works for complete beginners. It does, because every step can be adjusted to match your current level. Start where you are, not where you think you should be.
Another common question is how much time the composting for beginners takes each day. Most people spend between twenty and forty minutes on the core steps. That is enough to make progress without taking over your schedule.
Some readers wonder if they need expensive tools or subscriptions. In most cases, the composting for beginners works with what you already have. Any optional extras are just that, optional.